This walkthrough has been created using this tutorial as a resource.
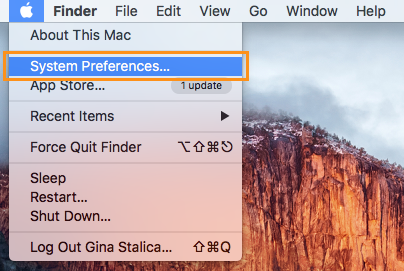
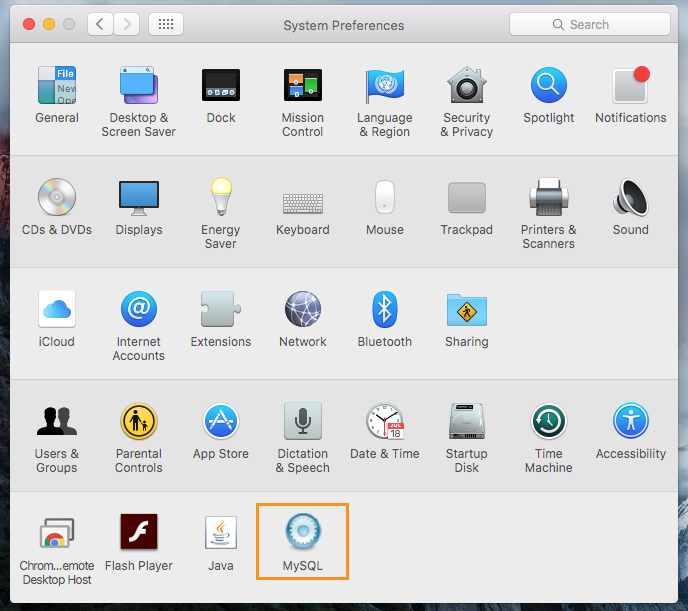
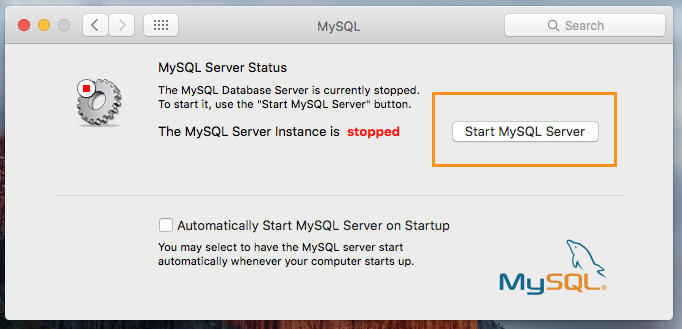
- Start your machine’s MySQL Server instance through System Preferences. See this walkthrough for assistance in doing so.
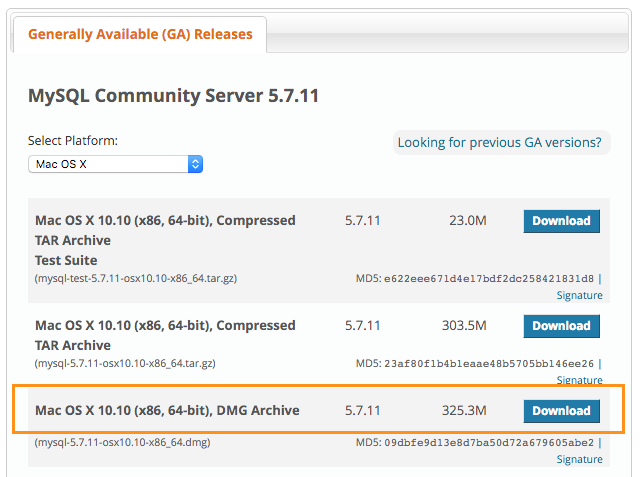
- Download Sequel Pro here.
- Open Sequel Pro.
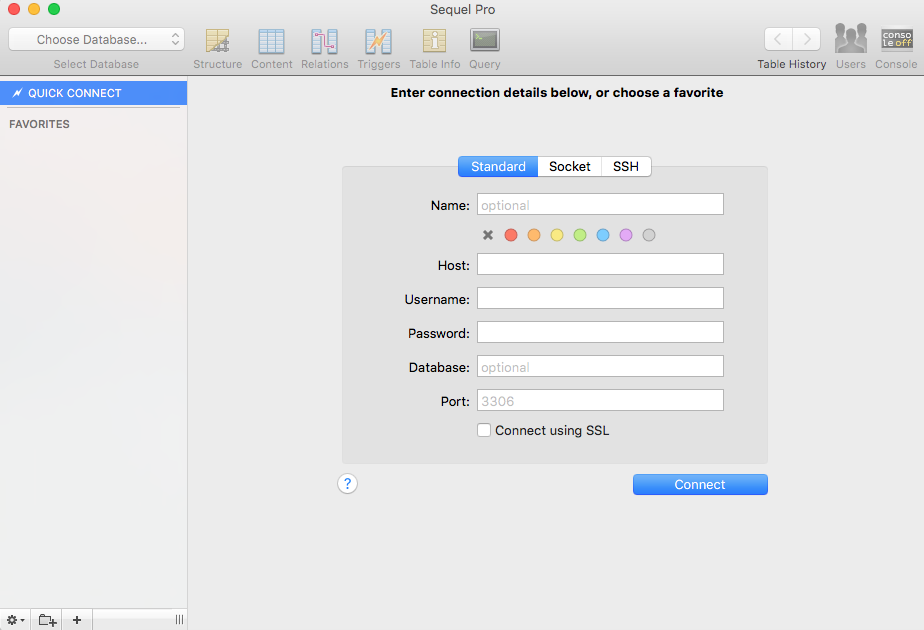
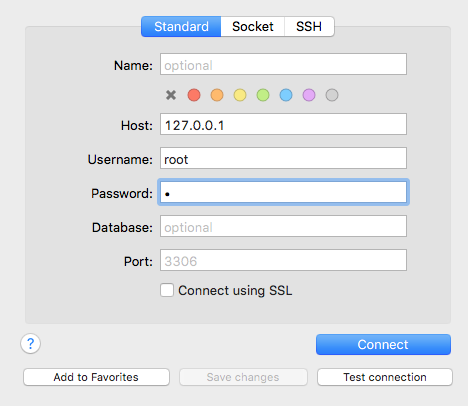
- Create a Standard connection to your MySQL Server, using IP address 127.0.0.1 as the Host and your MySQL root credentials for the Username and Password. No extra information is necessary.
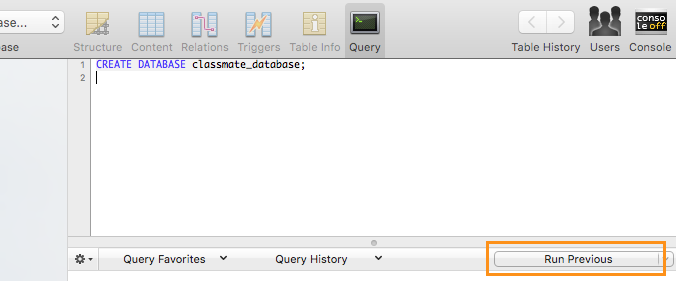
- Once connected, you will automatically be in the “Query” section of Sequel Pro, where you will type and run MySQL commands. In this demo, I will create a database of classmates, but feel free to mimic the syntax used in order to create a database of your choosing. To create your database, type CREATE DATABASE classmate_database; then press “Run Previous” just below in order to run your code and create your database.
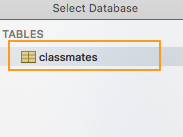
 To check that you’ve successfully created the database, navigate to the “TABLES” section of the Sequel Pro window and locate classmate_database.
- In order to work with the database your have just created, use the command “USE” and type USE classmate_database; and run the command just as you did before.

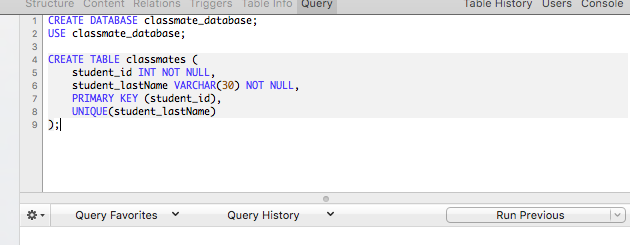
- Now, you’ll need to create a table in order to add some actual content to your database. To learn more about the organization of a database or, more specifically, the relationship between a database and its tables, check out this post. To create the table, unsurprisingly, we’ll use the command “CREATE TABLE” to create a table of classmates and proceed to indicate the primary key column and an initial (unique) column for the database. Type and run the following code:
CREATE TABLE classmates (
student_id INT NOT NULL,
student_lastName VARCHAR(30) NOT NULL,
PRIMARY KEY (student_id),
UNIQUE (student_lastName)
);
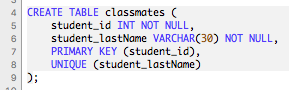
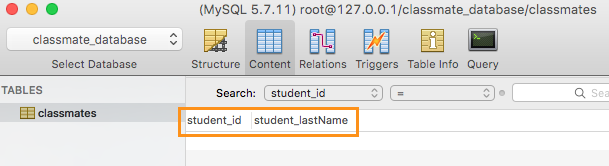
Let’s take some time to understand the code we’ve just used. CREATE DATABASE is self explanatory; however, it’s important to notice the way we set student_id as the PRIMARY KEY here and set student_lastName as a UNIQUE key. Both primary and unique keys are indices whose members must all be unique. Here, that means that no students can have the same ID and that no students can have the same last name (which may not be a realistic assumption). The primary key is special in that it is used for identification. In student_id, INT specifies that the column’s values will be integers and NOT NULL indicates that the value cannot be null. If a null value is attempted for this column, an error will occur. In student_lastName, VARCHAR(30) specifies that the column’s value will be composed characters with a maximum length of 30. Here, VARCHAR is used instead of MySQL’s CHAR because VARCHAR allows user to indicate a string of variable length, while CHAR’s declaration indicates a string of static length. We use VARCHAR here so that last names of different lengths can be inserted into the column. - Now is a good time to check that your table has been created. Click on the “Content” button on the top toolbar on the Sequel Pro window. If you find student_id and student_lastName as columns, you have successfully created the beginnings of your database!
 You can resume coding by returning to the “Query” button on the top toolbar.
 - Now, let’s add some actual values to our table using the “INSERT INTO” and “VALUES” command by typing and running the following code:
INSERT INTO classmates
(student_id, student_lastName)
VALUES
(1, “Lastname1”),
(2, “Lastname2”),
(3, “Lastname3”);
Be sure to contain the last name values in quotes and to assign unique id number values to each student.
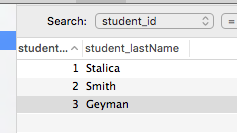
 To check to make sure that your data was entered correctly, again navigate to the “Content” button. If you click to drop the student_id or student_lastName columns down, you should find your data!

 Now it’s time to change your password to something a bit more memorable (and less nonsensical). Type the command: SET PASSWORD FOR ‘root’@’localhost’ = PASSWORD(‘typeyourpasswordhere’); Be sure to type the command yourself. Copying and pasting may cause a problematic difference in formatting. It’s also worth noting the use of the semicolon here. In SQL, like many other programming languages, the semicolon indicates the end of a statement, much like a period indicates the end of a sentence.