
Studio & resources
Plan the experience.
Prepare the details.
A practical starting point for students, visiting artists, and collaborators working with CEMA’s immersive systems.
The space
Compose with the room.
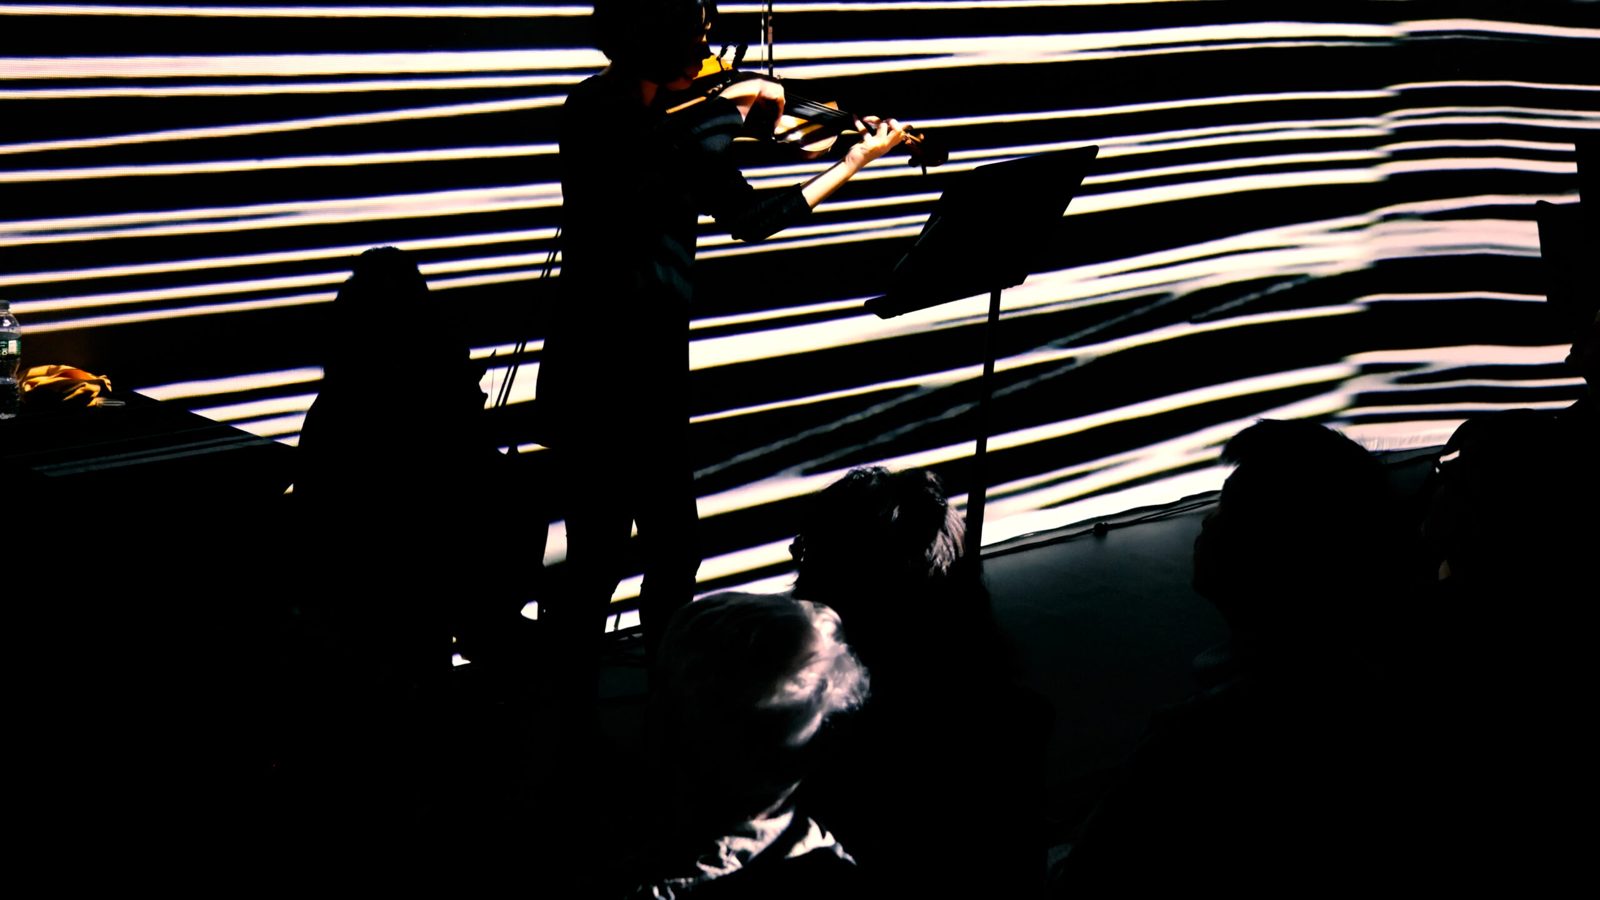
CEMA brings projection, sound, and lighting into a shared performance environment. Discuss the room setup, playback method, live inputs, and operating support before finalizing a project.
Getting started
Video and sound setup guides.
Use CEMA’s existing step-by-step guides when preparing your session. Confirm access and any setup-specific requirements with CEMA.
Technical guide
The essential specifications.
The technical guide contains the channel-layout diagram and full artist-advance requirements. Use the current CEMA mapping template for exact floor placement, seams, masks, and orientation.
| System | Specification | Planning note |
|---|---|---|
| Combined image | 5000 × 2400 px | Walls and floor together |
| Floor region | 1920 × 1200 px | Position within the combined canvas using CEMA’s template |
| Video files | HAP or HAP Q · 60 fps | Match frame rate and duration across files |
| Audio files | WAV · 96 kHz · 32-bit | Confirm multichannel file versus separate stems |
| Playback | Dante Virtual Soundcard | Required for eight-channel playback; confirm channel order |
| Loudspeakers | 8 × Genelec 8340AWM loudspeakers; 2 × Genelec 7360APM subwoofers | 8.2 system — confirm channel order |
| Lighting | 4 ceiling-mounted PAR lights | USB-to-DMX or OSC; confirm patch and messages |
Use the full guide
Review the room’s channel diagram, export requirements, delivery instructions, and project packaging before your session.
Artist advance
A clear handoff makes room for experimentation.
Deliver final performance media and communicate your requested setup time.
1. Package the complete project
- TouchDesigner: include the .toe file, media, external components, and dependencies.
- Ableton Live: use Collect All and Save; deliver the full project folder.
- Max: include the .maxpat project and its dependencies.
- List software/build versions, plug-ins, licenses, and start/stop/reset instructions.
- Include reference images or video and a rendered backup where possible.
2. Write a handoff note
- Artist, contact, work title, date, and running time.
- Surface/file list, channel assignments, and live inputs.
- Lighting cues, control method, and equipment needs.
- Start cues, transitions, loops, synchronization, and ending behavior.
- One clearly identified final version and a local backup.
3. Test the complete experience
Coordinate delivery, access, arrival, cabling, power/network, and operating support with CEMA. Check each audio channel separately, verify wall/floor alignment, and rehearse the complete sequence—including lighting and the ending.
Before you arrive
Booking, access & support.
Reserve a session
The booking page is the existing CEMA appointment schedule. Confirm room access and the support needed for your particular setup with CEMA.
Location
CEMA is in Studzinski 202, Studzinski Recital Hall. Confirm arrival and access arrangements before visiting.
Templates & control details
Request the current projection-mapping template, audio routing, DMX patch, and OSC message details directly from CEMA. These depend on the agreed setup.
Access needs & technical problems
Contact CEMA before a visit about access needs or concerns relating to sound, projection, or lighting. For equipment issues, describe the system and what happened.